This resource is great for:
Getting pupils thinking about the interests and issues that are most important to them in a creative way.
Summary:
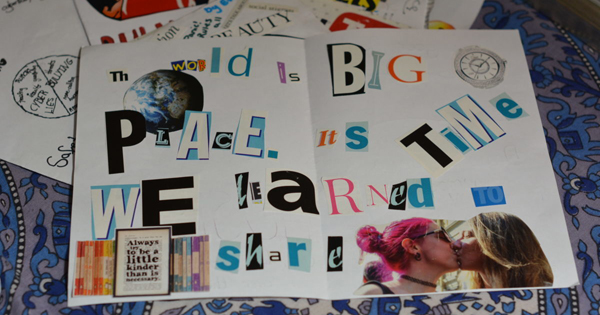
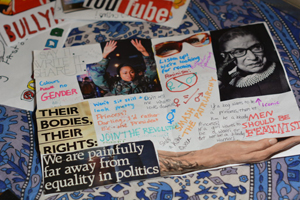
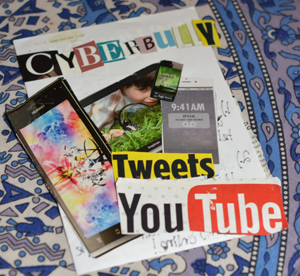
A step-by-step guide to creating zines – tiny, do-it-yourself booklets made using pictures and lettering cut from newspapers and magazines.
Download this resource:
Creating Zines with Claire Askew – PDF version
Creating Zines with Claire Askew – Word doc
Introduction
As part of Citizen, the Book Festival’s new long-term creative programme working with organisations across Edinburgh, listening to people’s views about the communities in which they live, Citizen Schools Writer-in-Residence Claire Askew has been working with pupils from three schools.
To get to know the pupils, she decided to ask them to make zines in order to find out about the issues and activities that most interested them.
I wanted to give them a creative activity to do, and ideally one which related to books, reading, publishing (zine-making is still one of the fastest and cheapest forms of non-digital publishing). I’ve made zines in schools before, and so I know they can look very cool on a pinboard display: I wanted to give the groups something to show for their creative efforts.
In this resource, Claire gives you a step-by-step guide to creating your own zines in the classroom.
Activity – Creating Zines
You will need:
- white A4 paper, plain
- old magazines and newspapers for cutting up
- scissors
- glue sticks
- felt pens
- a photocopier
Step 1:
If you can find a few pre-made zines to show as examples, that’s helpful. Edinburgh has its very own Zine Library which you can explore here: edinburghzinelibrary.com
Step 2:
Once pupils have got their heads around what a zine looks like, they need to pick the topic they’re going to zine about. It helps if it’s something they care about: a favourite activity, sport, band, etc; or a political issue they think more people should know about. Why not have a class discussion about possible topics before you get started?
Step 3:
Everyone gets a single sheet of A4. Fold it in half, and this makes a zine of four ‘sides’, or pages. This is a small space, so each pupil might want to spend a little time thinking about how they’ll arrange their information and visuals for maximum impact. The cover is important too!
Step 4:
When it comes to making zines, there are no rules! The main thing to remember is, though cutting and sticking is fun, it’s important to put some words into your zine so people know what it’s about. Also, beware when working with old magazines of the temptation to sit and read them… try to stay focused on looking for zine content!
Step 5:
As the zines come together, it’s important to make sure that any cut out or collaged material is well stuck down. You might also want to snip any sticky-out bits off the sides of your zines, if your stuck-on pictures or lettering have gone outside the confines of your paper. The zine needs to go through a photocopier, so it’s best to make sure that’ll happen smoothly.
Step 6:
Photocopy your zines either in colour or black and white (the old zines of the 80s and 90s were all black and white). Once you have copies, you can distribute them to friends, display them on a pinboard, leave them in strategic places for readers to come across them, post them… they’re yours to give to the world!
Further information
Find out more about Claire Askew’s experience of zine-making with the Citizen pupils on our Book Festival On the Road blog: ontheroad.edbookfest.co.uk/blog/citizen-making-zines-with-claire-askew/